 ( 250 ) 23-July-2013
We are going to make this neck similar to a neck that Walt already likes.
Walnut Body
Sitka Spruce Top
Mahogany Neck
Pistachio Fretboard, Bridge, and Headstock
Maple Binding
Herringbone Purfling
Gold Frets & Gotoh Tuners
25.4 Inch Scale Length
( 250 ) 23-July-2013
We are going to make this neck similar to a neck that Walt already likes.
 ( 251 ) 23-July-2013
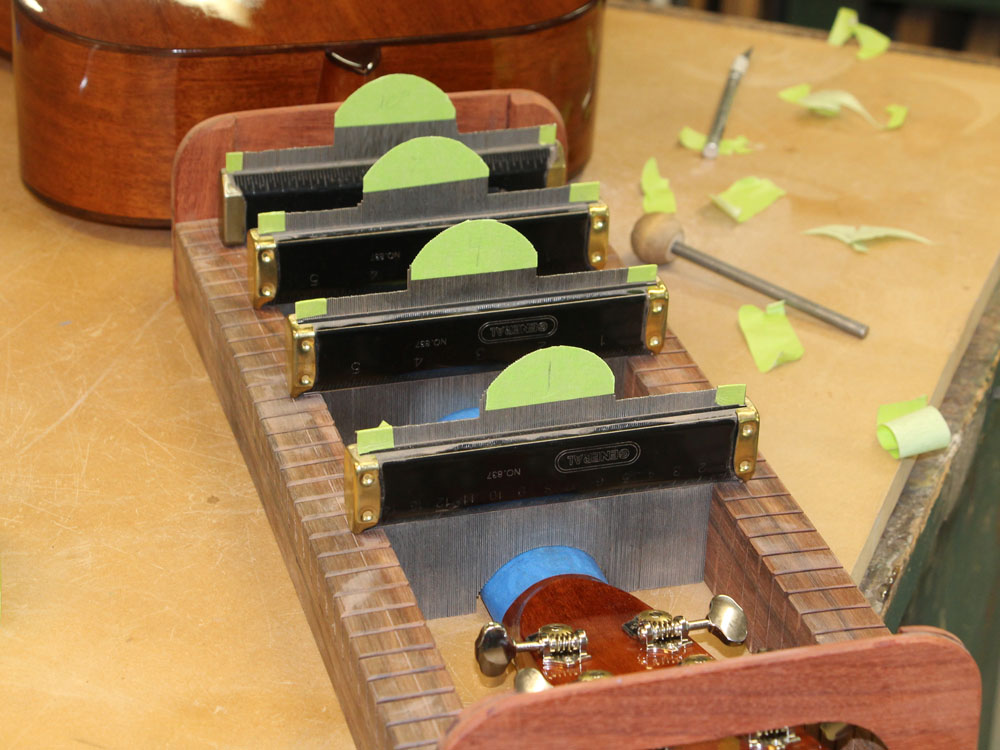
I use this contour gauge set to copy the profile of the neck he likes. I have use tape to lock the profile gauge in place.
 ( 252 ) 23-July-2013
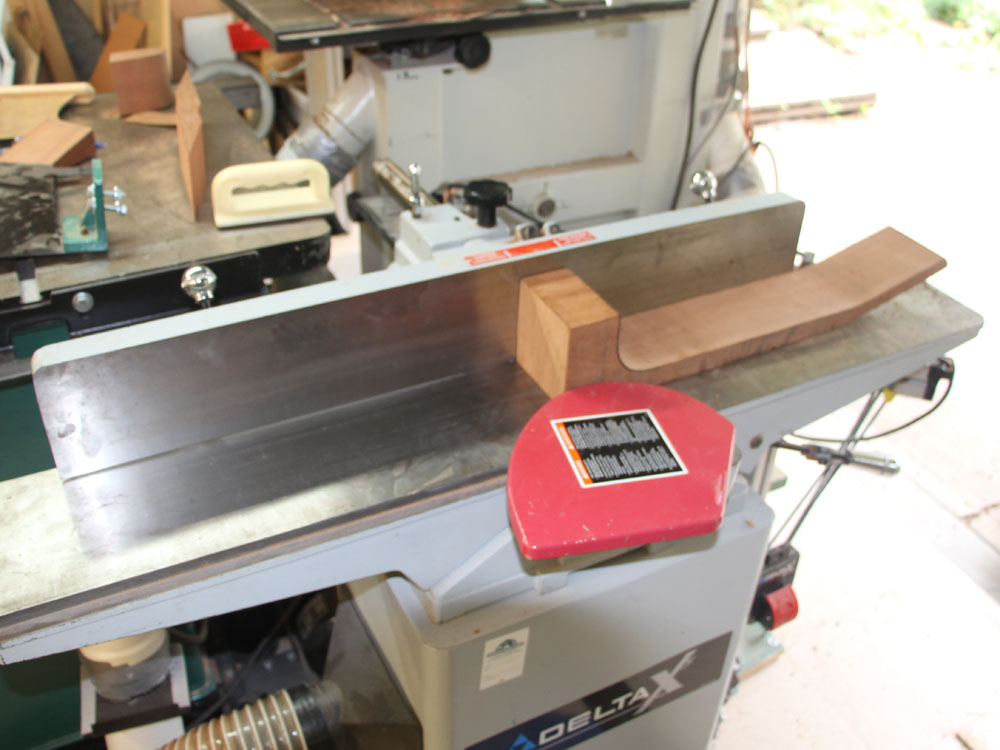
In this picture I am using the jointer to prepare the fretboard surface of the neck blank.
 ( 253 ) 23-July-2013
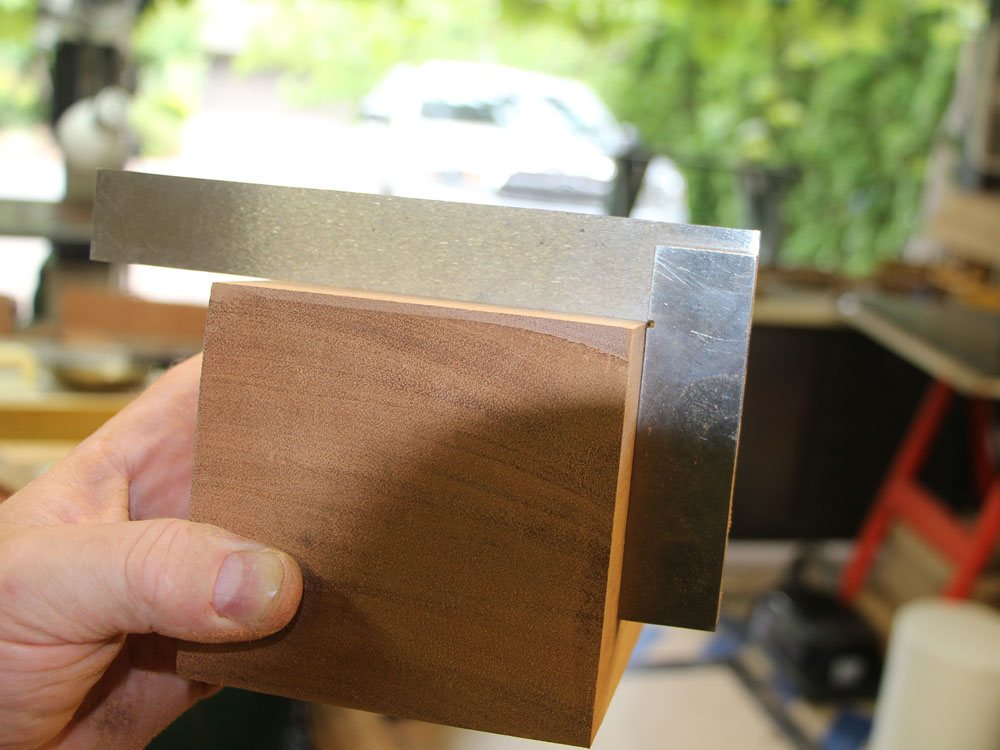
I will be placing the blank into a vice several times, so I like to square up the sides and get them parallel.
 ( 254 ) 23-July-2013
Measuring.
 ( 255 ) 23-July-2013
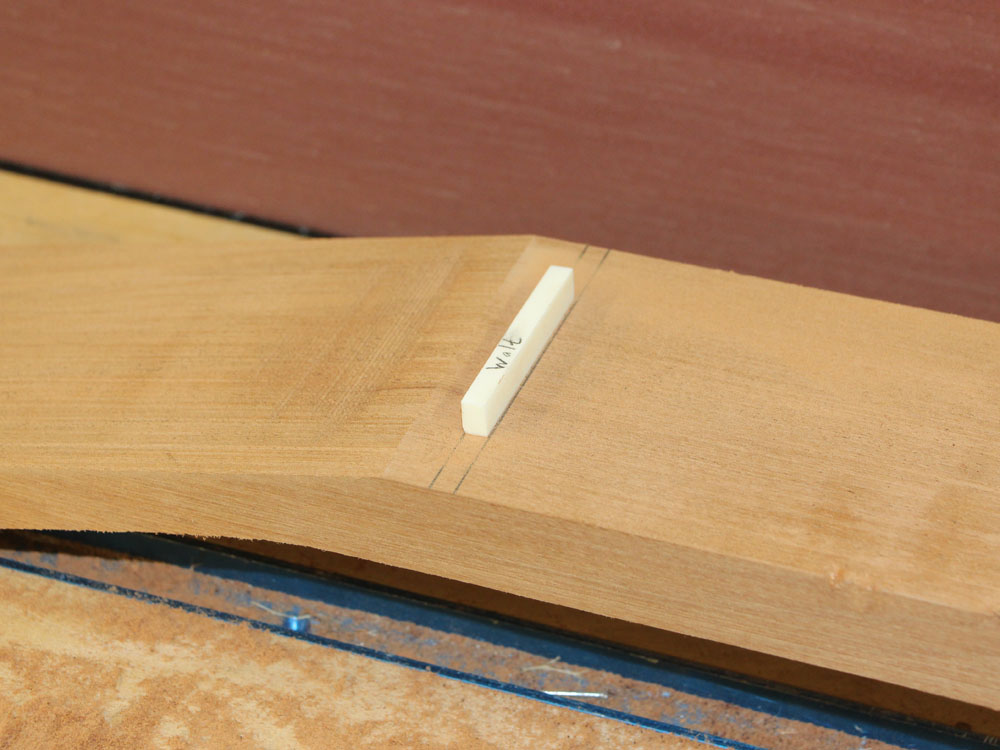
Here I have selected the nut blank I will use and have marked its position on the neck blank.
 ( 256 ) 23-July-2013
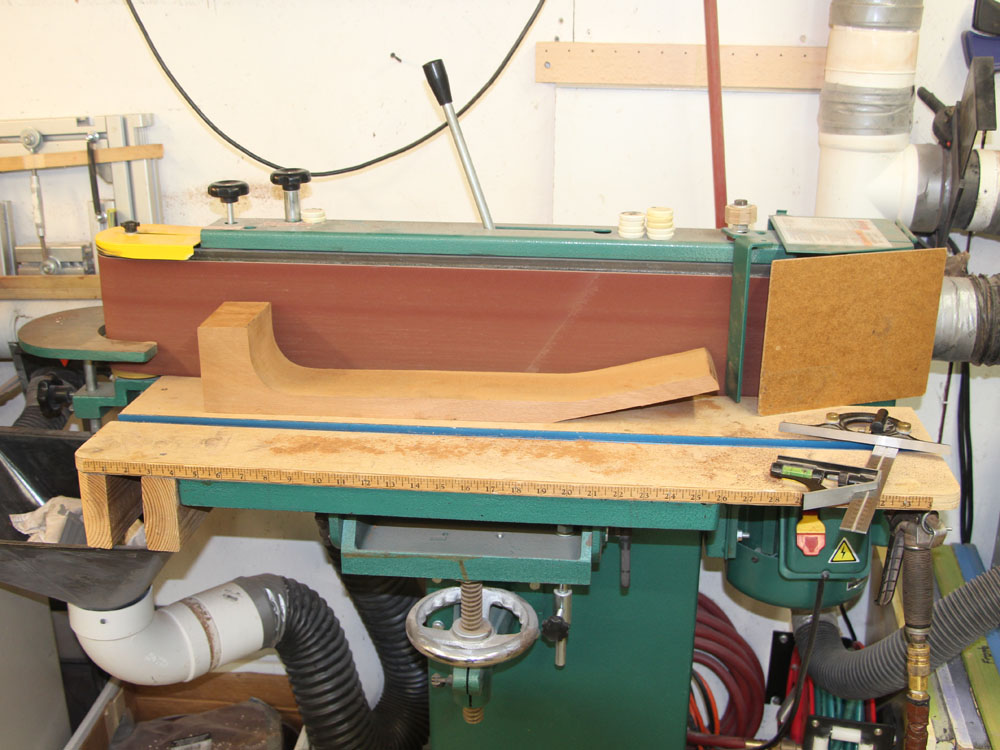
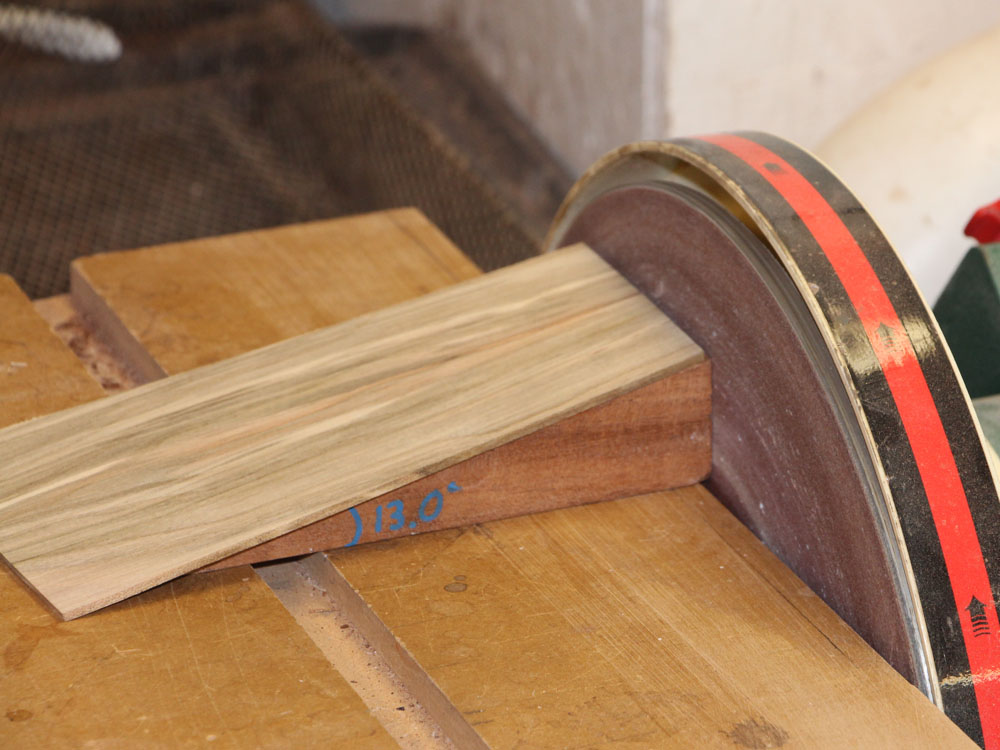
And now I can create the headstock surface by sanding it until it meets the nut and has the right angle.
 ( 257 ) 23-July-2013
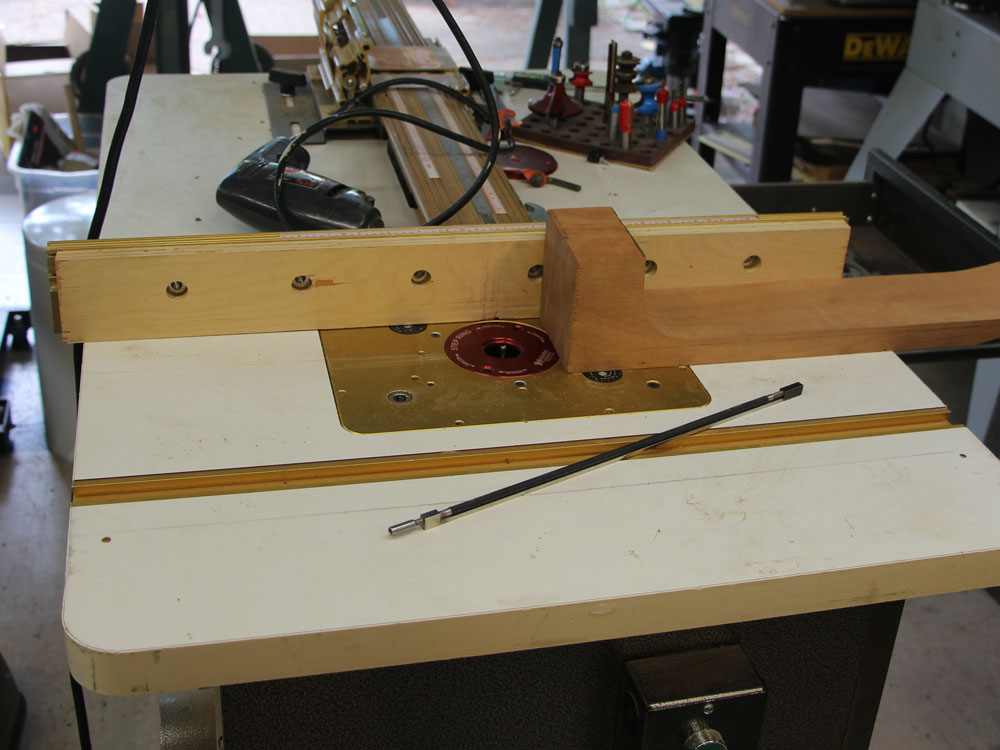
Next, I am using my router table to route out the channel for the truss rod.
 ( 258 ) 23-July-2013
 ( 259 ) 23-July-2013
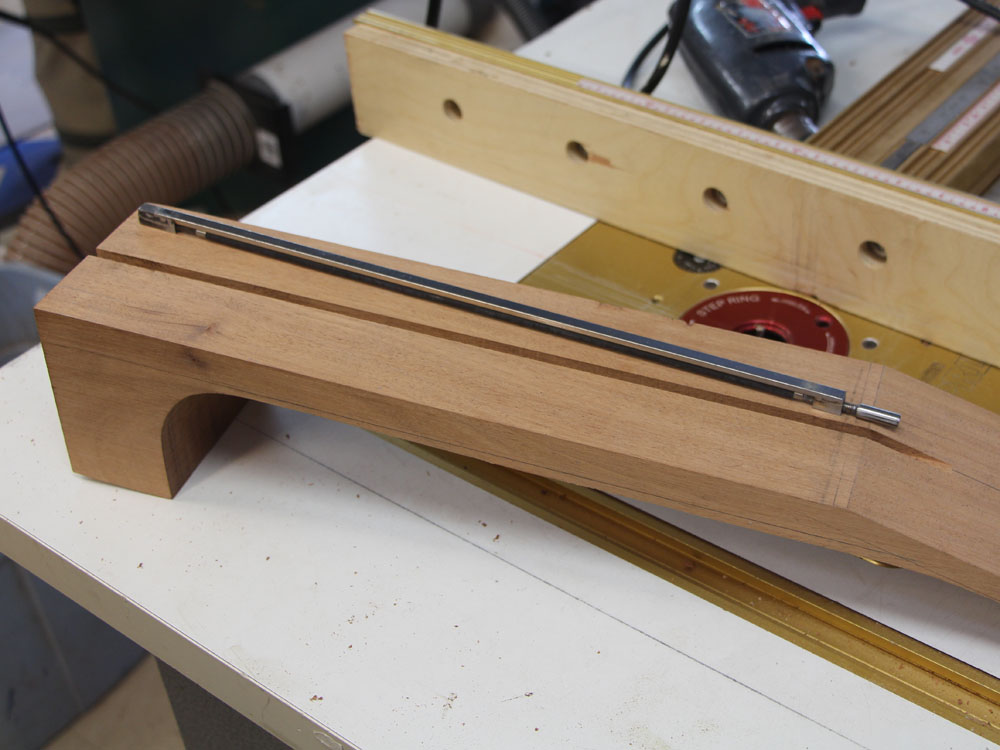
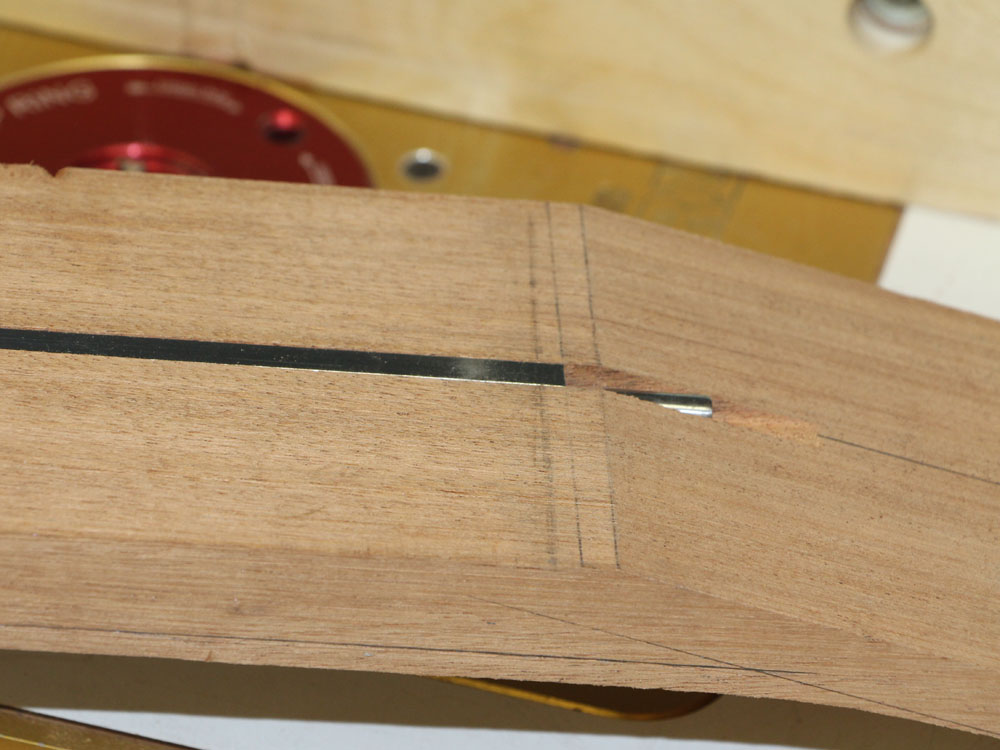
I make sure the rod is flush with the surface.
 ( 260 ) 23-July-2013
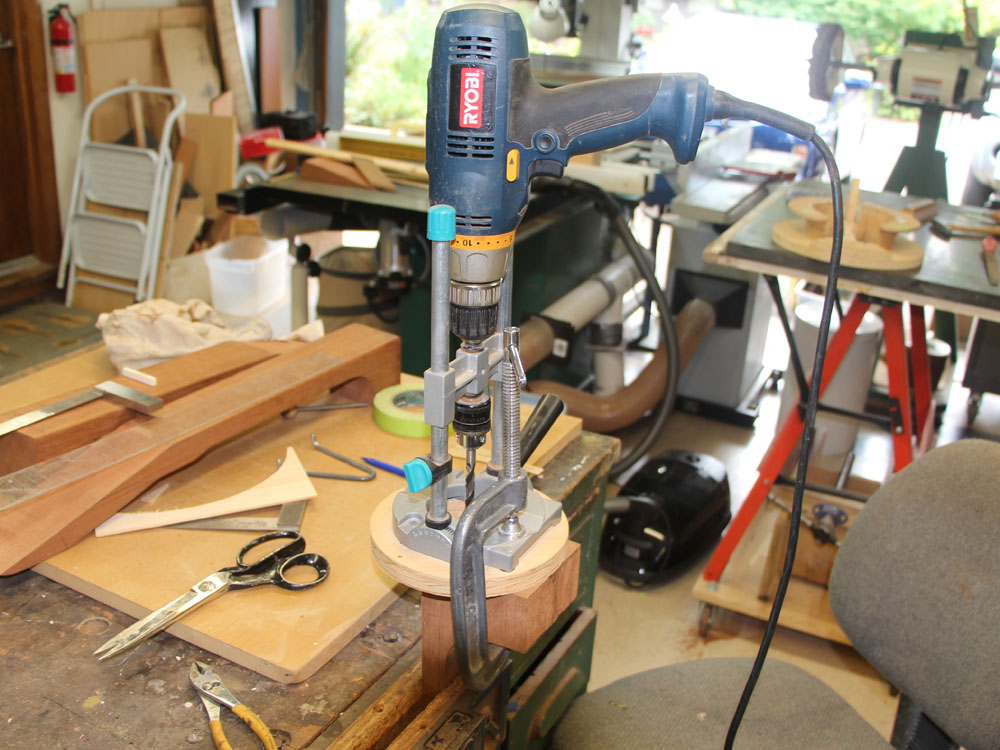
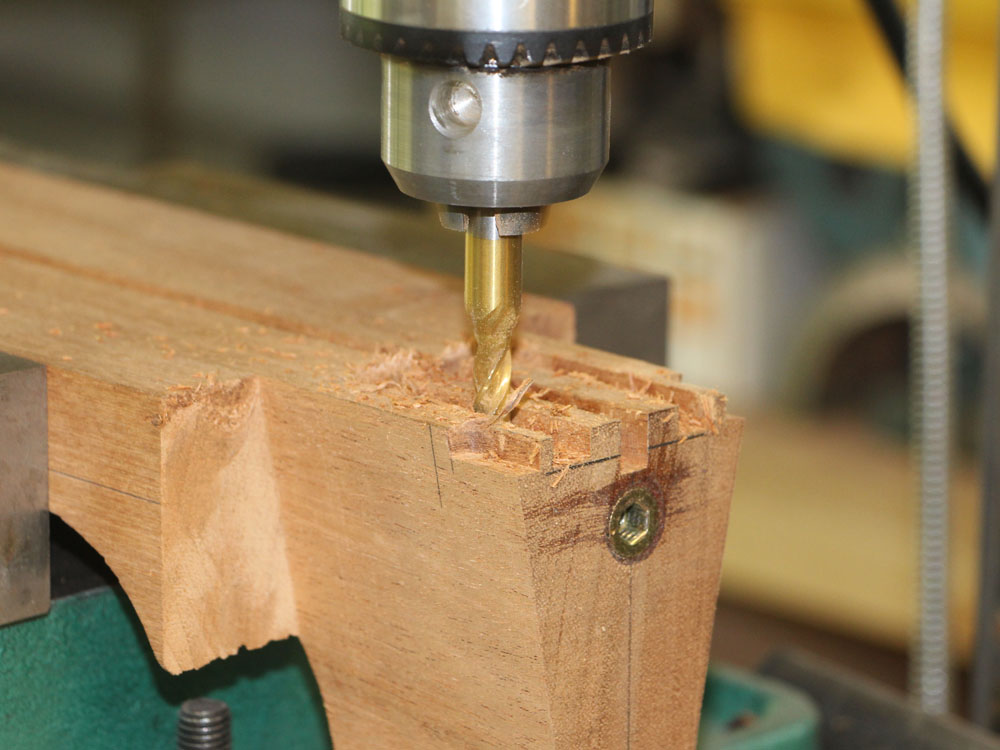
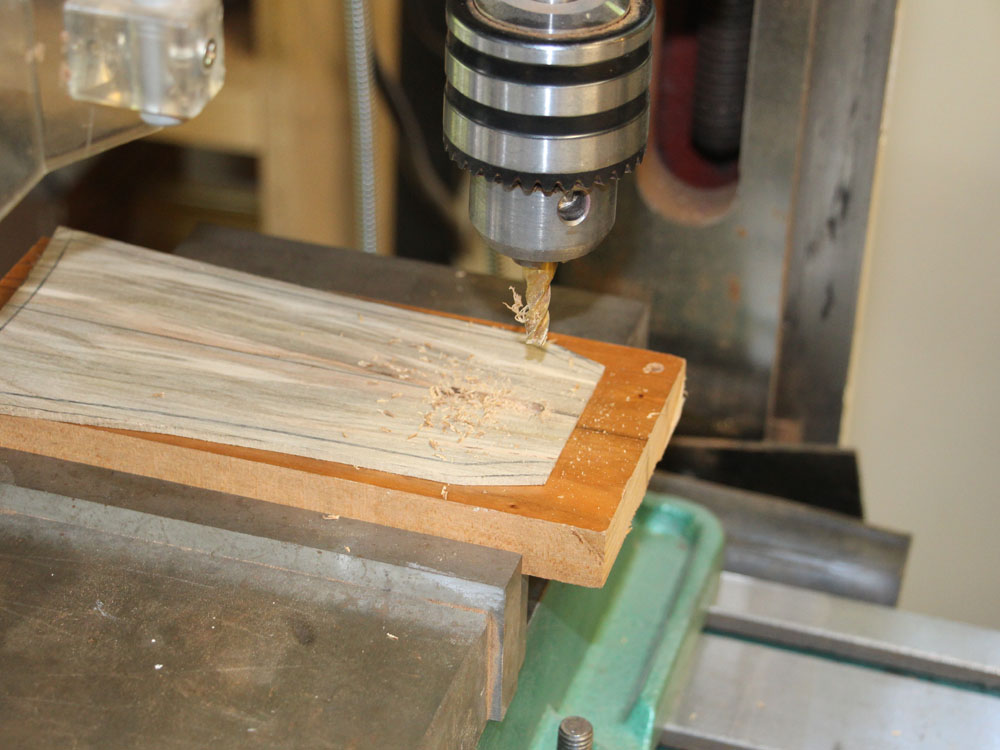
I use a drill guide to drill a hole for the neck retention bolt.
 ( 261 ) 23-July-2013
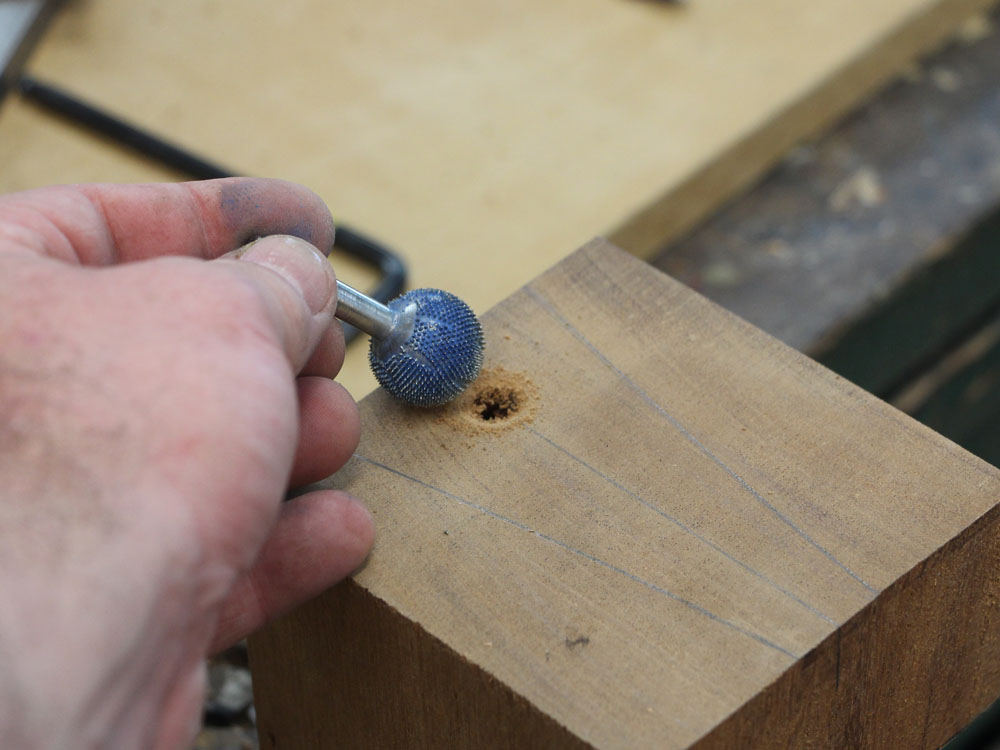
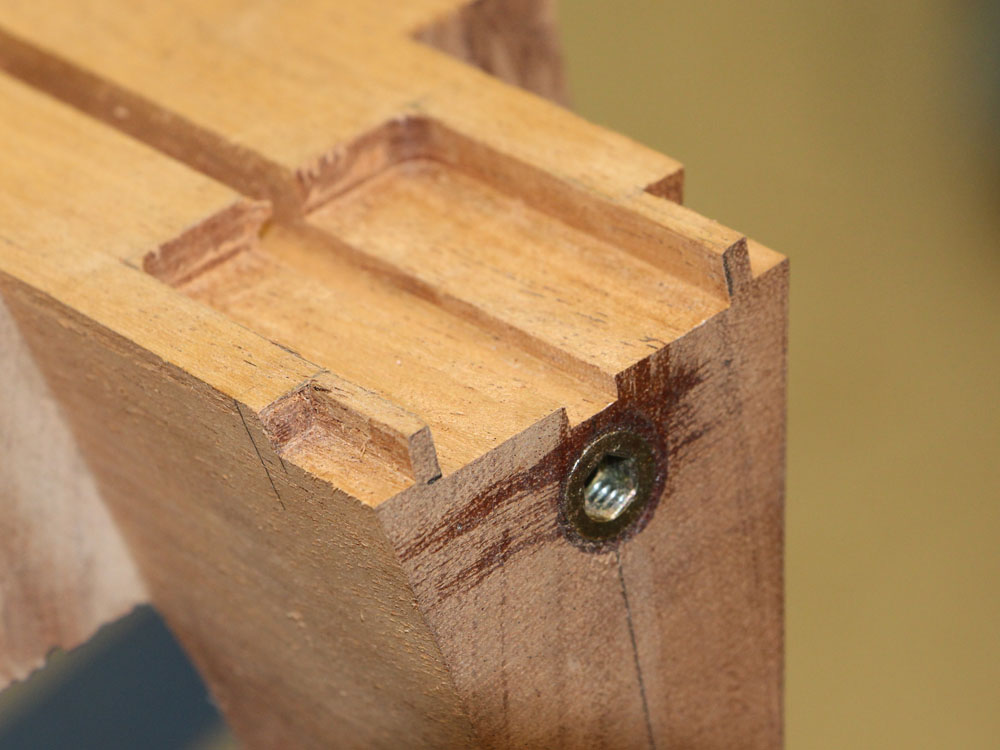
I like to counter sink the wood insert.
 ( 262 ) 23-July-2013
 ( 263 ) 23-July-2013
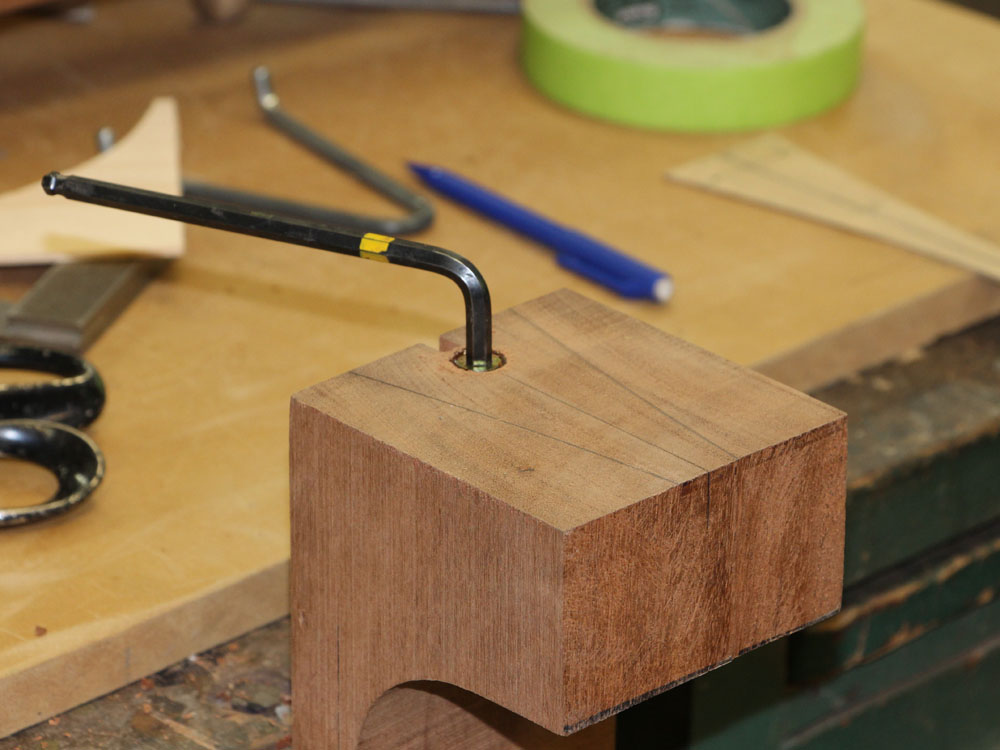
And it gets screwed into place.
 ( 264 ) 23-July-2013
I will use this insert to hold the neck onto the profiling jig.
 ( 265 ) 23-July-2013
This jig lets me use the router table to create the profile of the heel of the neck.
 ( 266 ) 23-July-2013
A very big router bit going very fast.
 ( 267 ) 23-July-2013
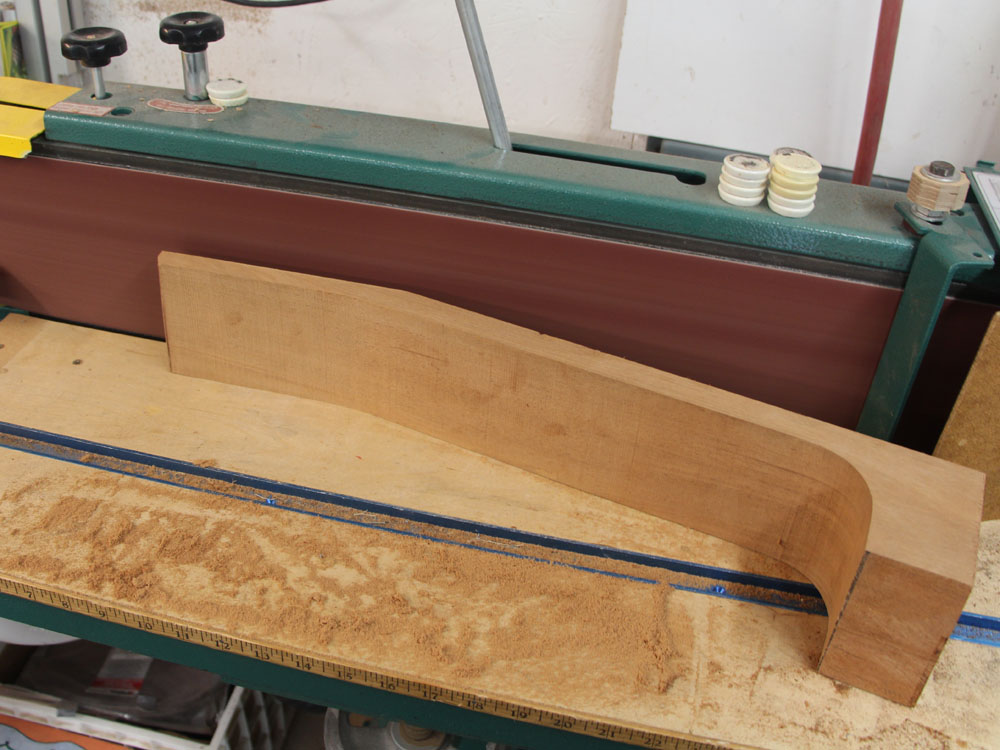
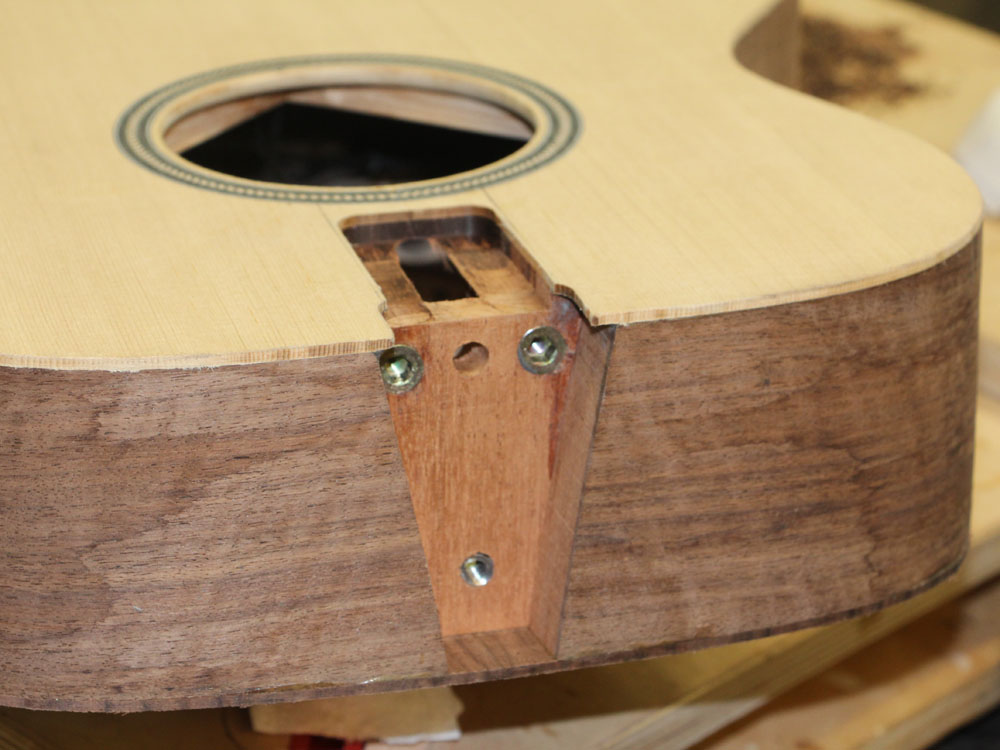
When I am done we have a heel that will fit perfectly into the heel channel we created in the body of the guitar.
 ( 268 ) 23-July-2013
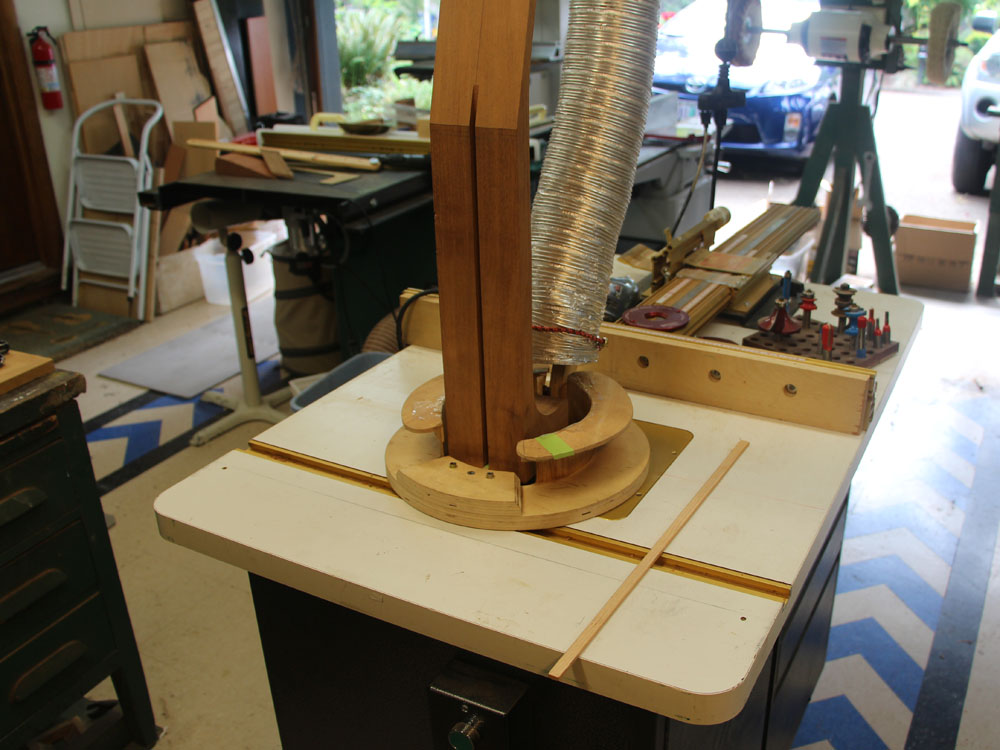
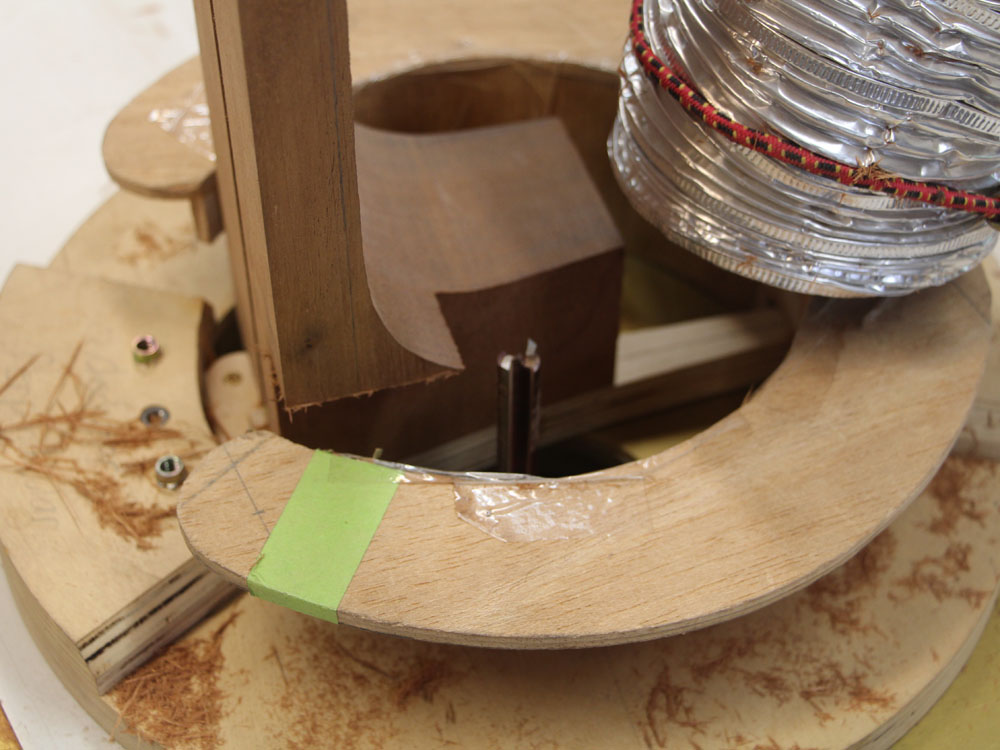
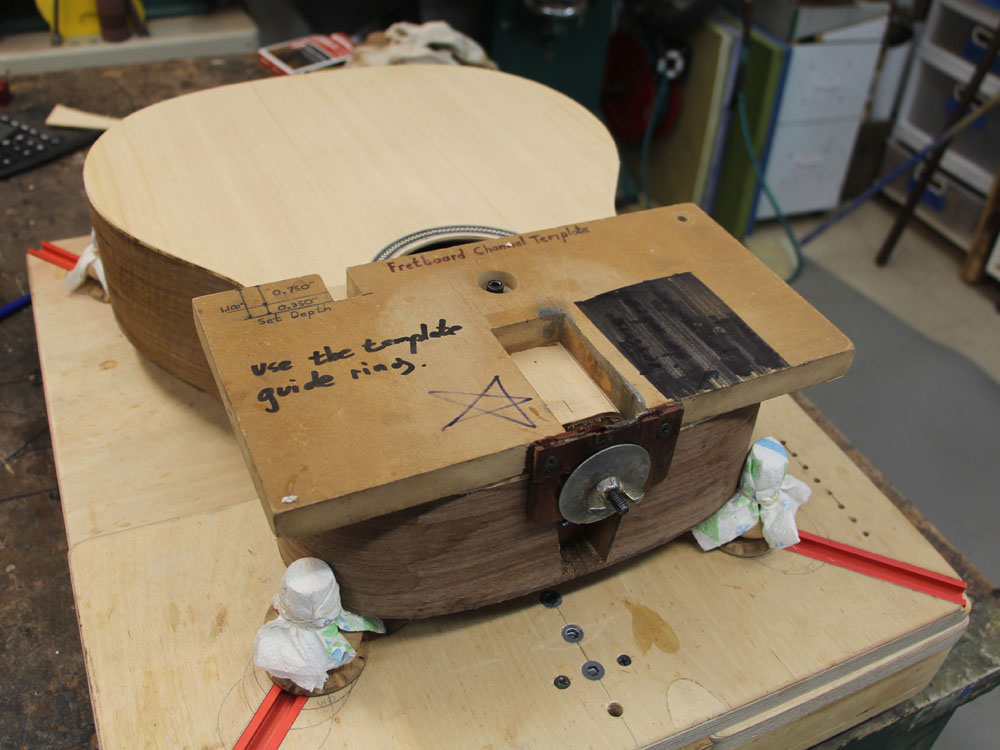
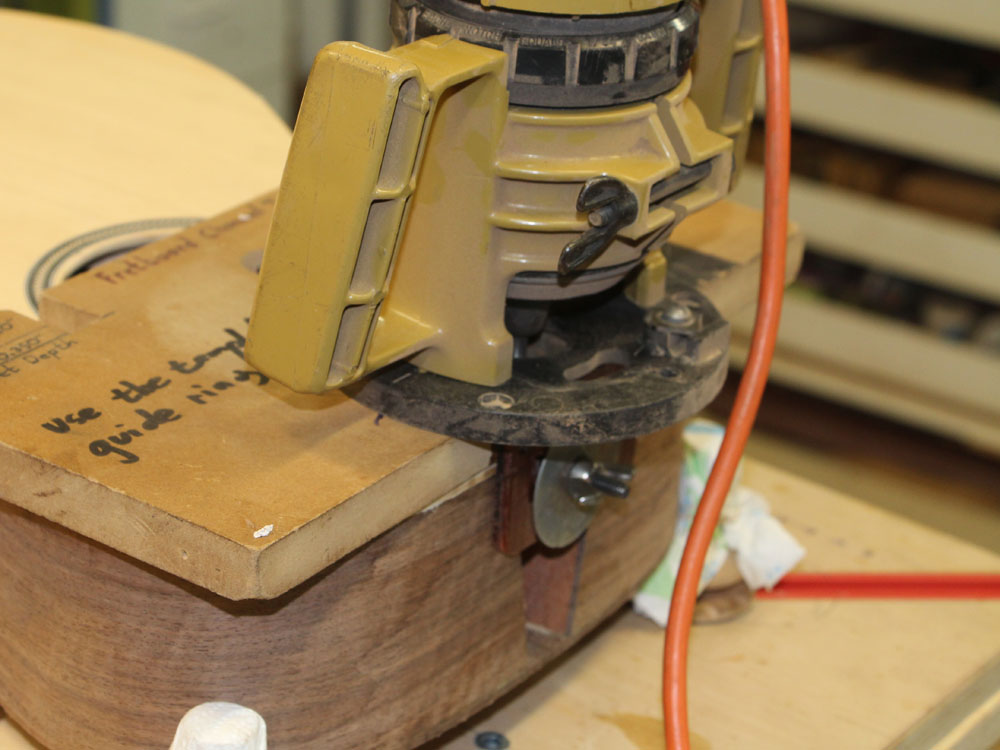
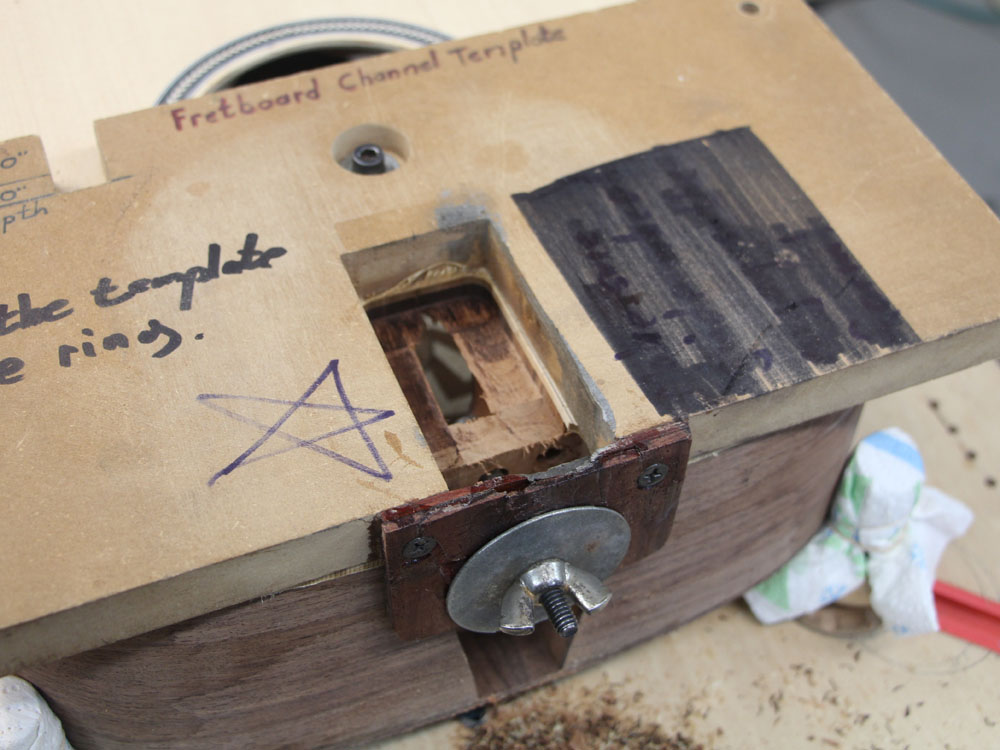
Speaking of which, I am using another special jig to guide the router to create the fretboard cantilever support channel.
 ( 269 ) 23-July-2013
 ( 270 ) 23-July-2013
 ( 271 ) 23-July-2013
And here is a look at the finished channel.
 ( 272 ) 23-July-2013
At this time I like to add a little fillet of epoxy paste to the channel wings to help support them.
 ( 273 ) 23-July-2013
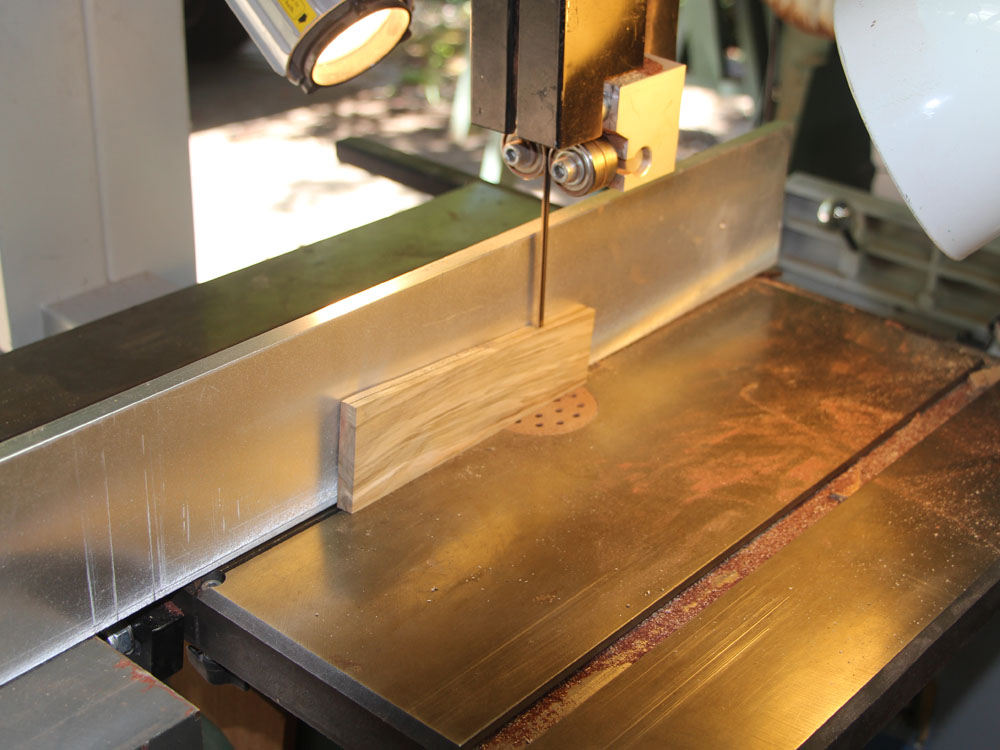
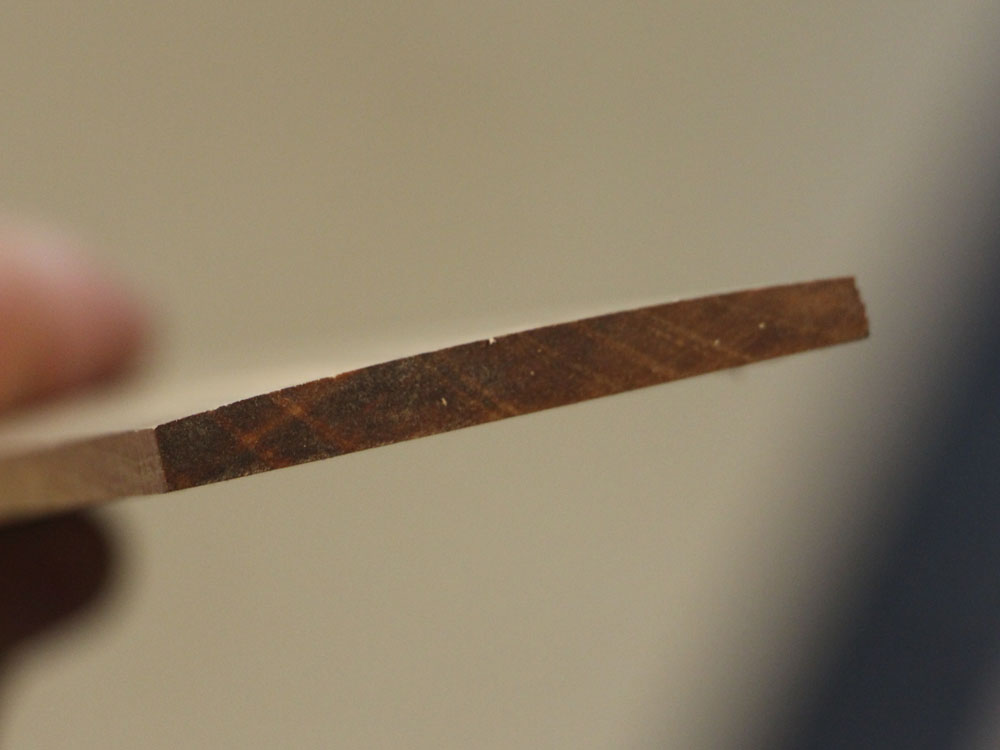
Here I am splitting a piece of Pistachio to create a head stock veneer.
 ( 274 ) 23-July-2013
I put a few weights on as I glue he two pieces together to keep them flat.
 ( 275 ) 23-July-2013
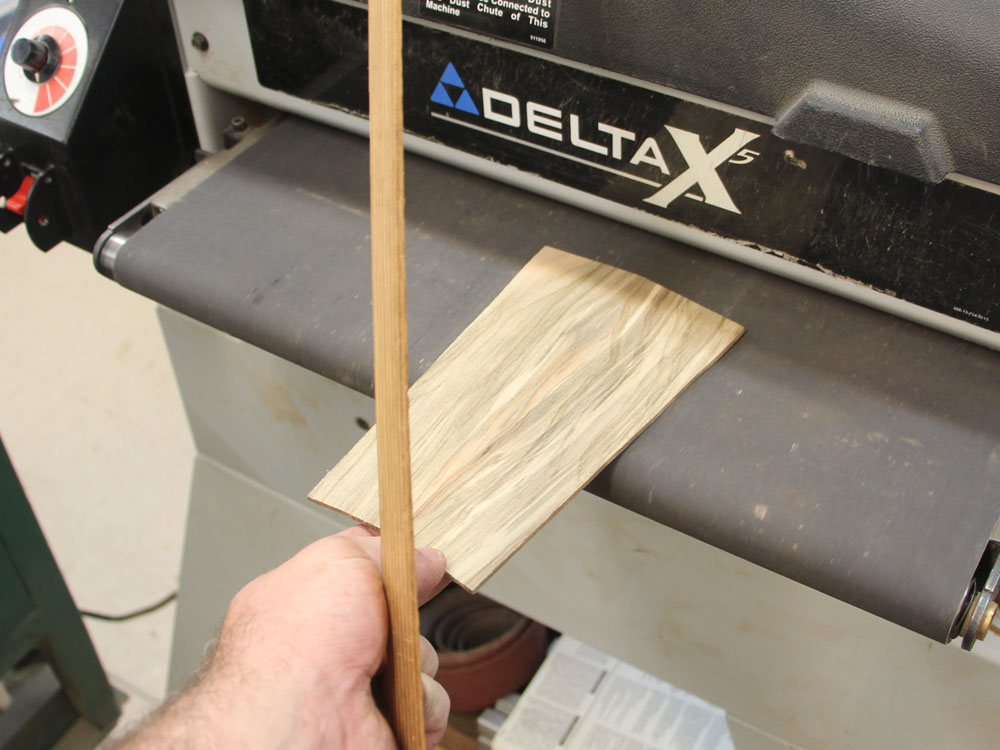
And then I use the drum sander to dimension it to 100 mils thick.
 ( 276 ) 23-July-2013
And while the drum sander is out I use it to dimension the fretboard blank to 300 mil.
 ( 277 ) 23-July-2013
I put a few pieces of turners tape on the back.
 ( 278 ) 23-July-2013
And attach the fretboard blank to the bottom of the radiusator. The two bars of different length joined by the crossbar with the fretboard blank will sweep out a prescribed cone over the router bit.
 ( 279 ) 23-July-2013
I sweep the crossbar over the router bit while advancing the sled.
 ( 280 ) 23-July-2013
When I am finished I have a nice compound radius surface on the fretboard blank.
 ( 281 ) 23-July-2013
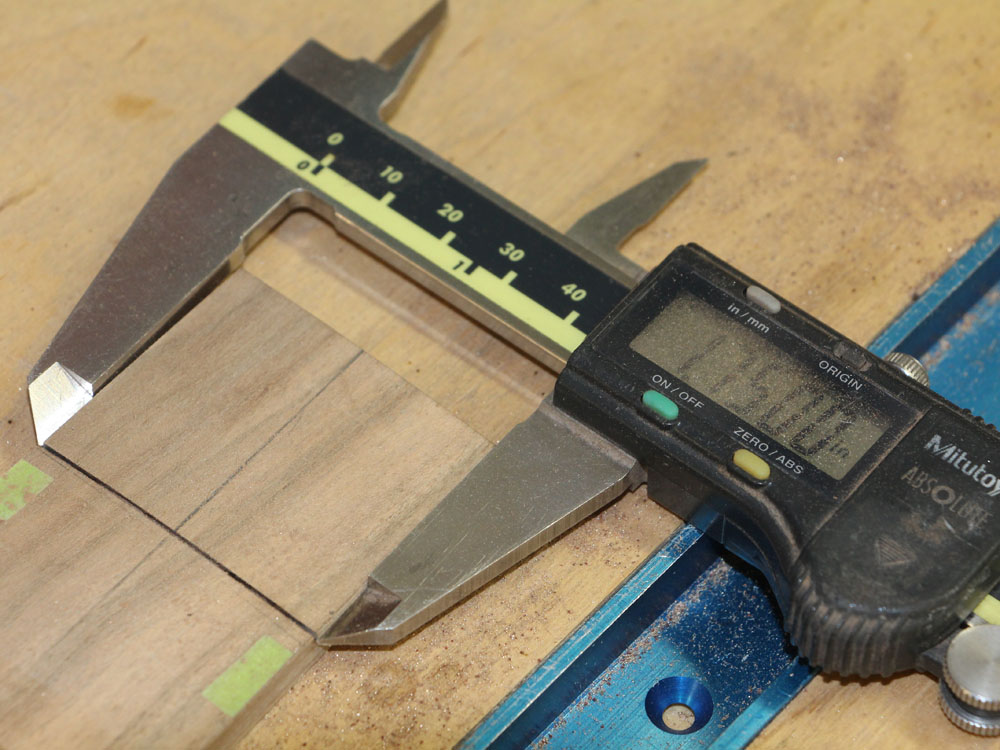
Now I use the drum sander again on the bottom of the fretboard blank to bring the crown height to 250 mil.
 ( 282 ) 23-July-2013
Finally, I use very flat sanding blocks to even out the surface and remove the bit marks.
 ( 283 ) 23-July-2013
I check the straightness of the fretboard blank with a precision straight edge and feeler gauge.
 ( 284 ) 23-July-2013
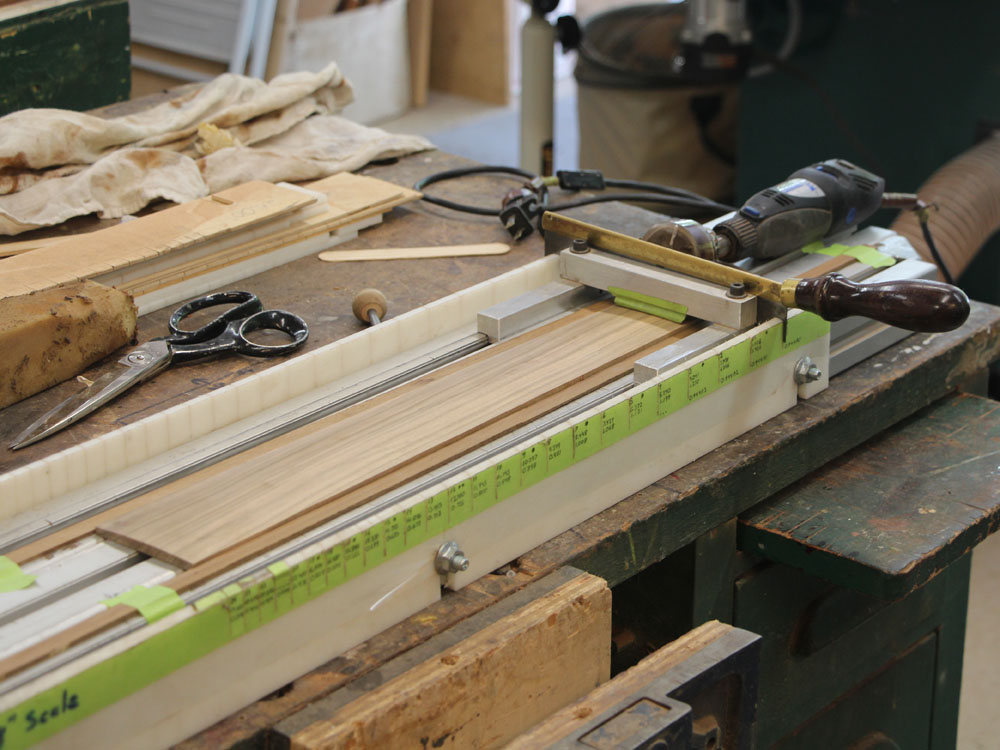
Here I have mounted the fretboard blank in the slotting jig.
 ( 285 ) 23-July-2013
This jig has a set of templates to position the guide sled. I carefully drag the Dremel Tool across the fretboard blank with a cross cut blade attached to create the fret slots.
 ( 286 ) 23-July-2013
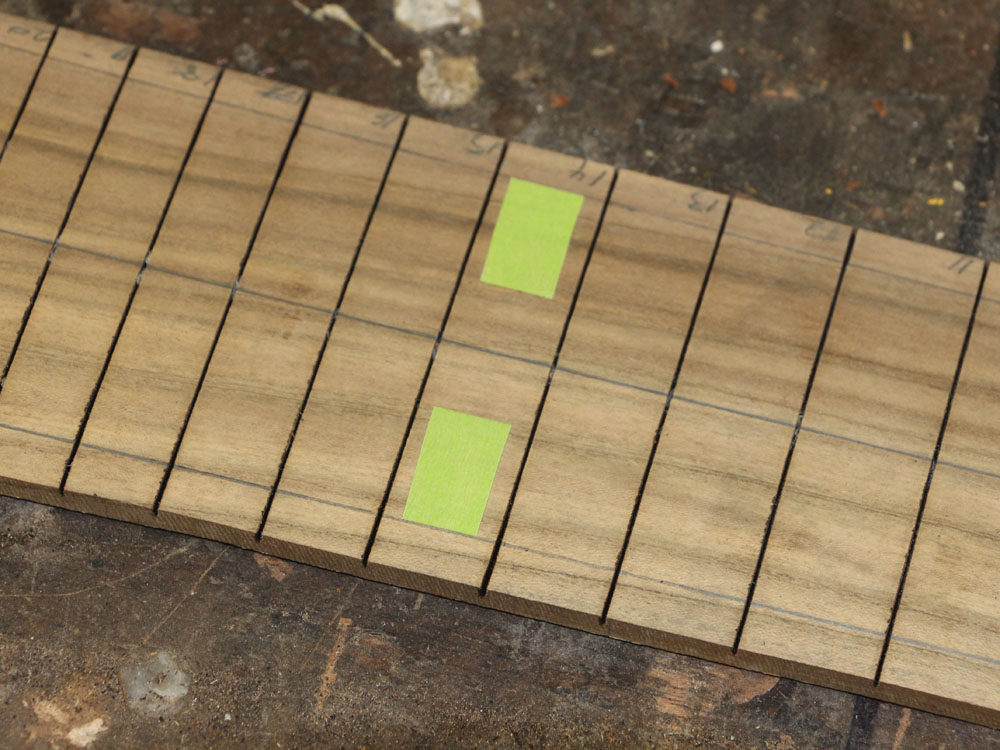
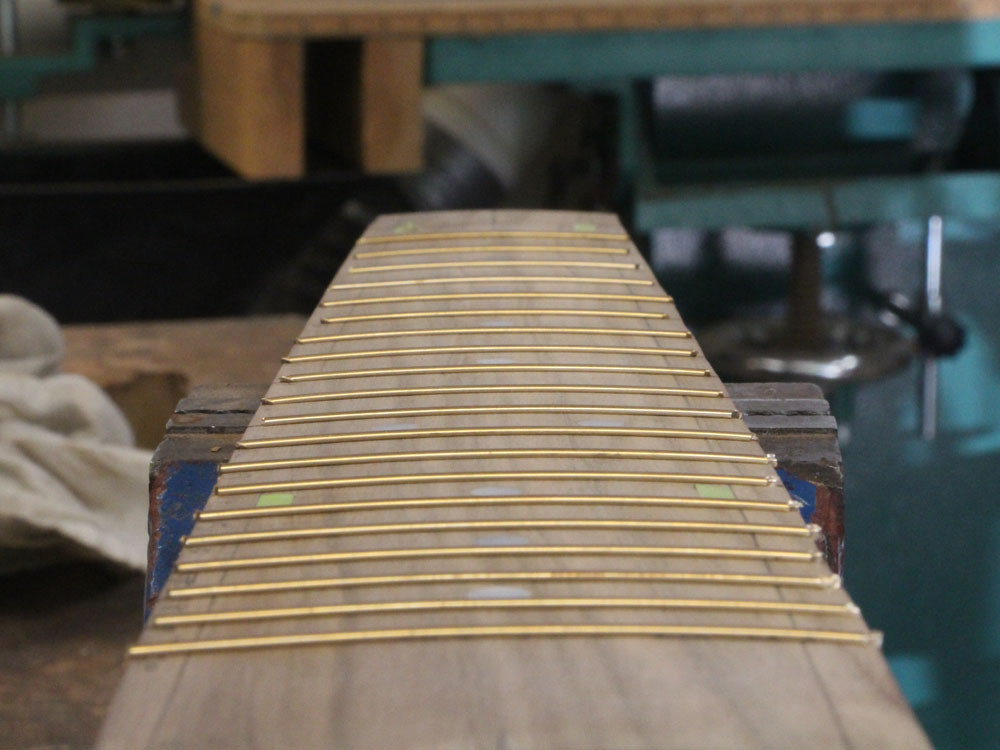
Lots of fret slots.
 ( 287 ) 23-July-2013
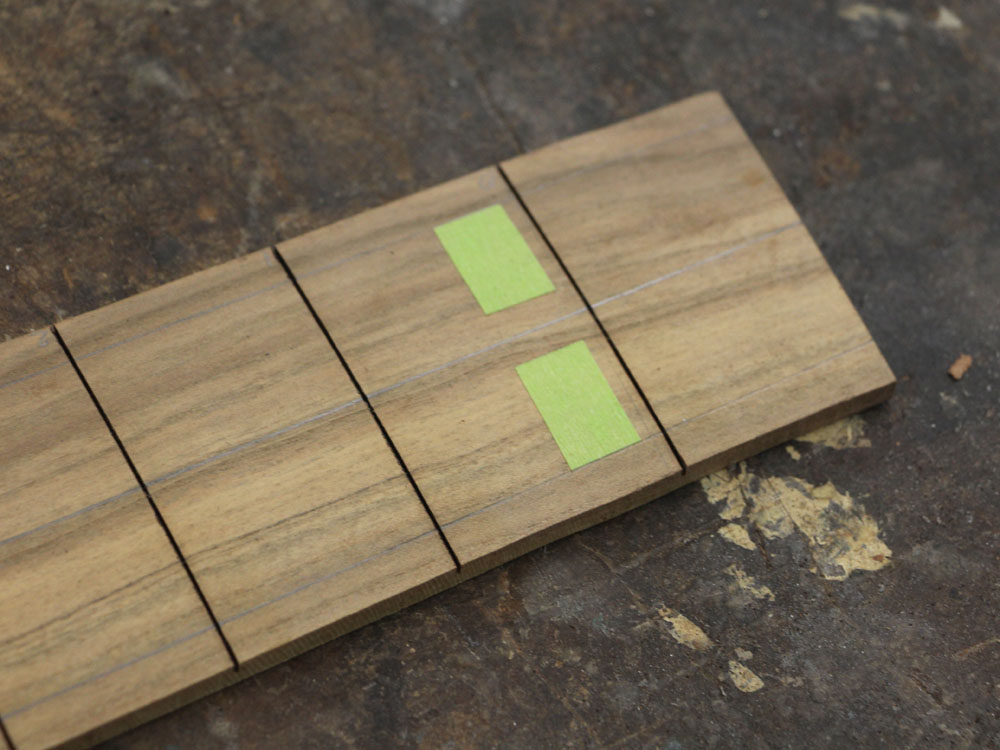
Next I mark the position for the fretboard markers.
 ( 288 ) 23-July-2013
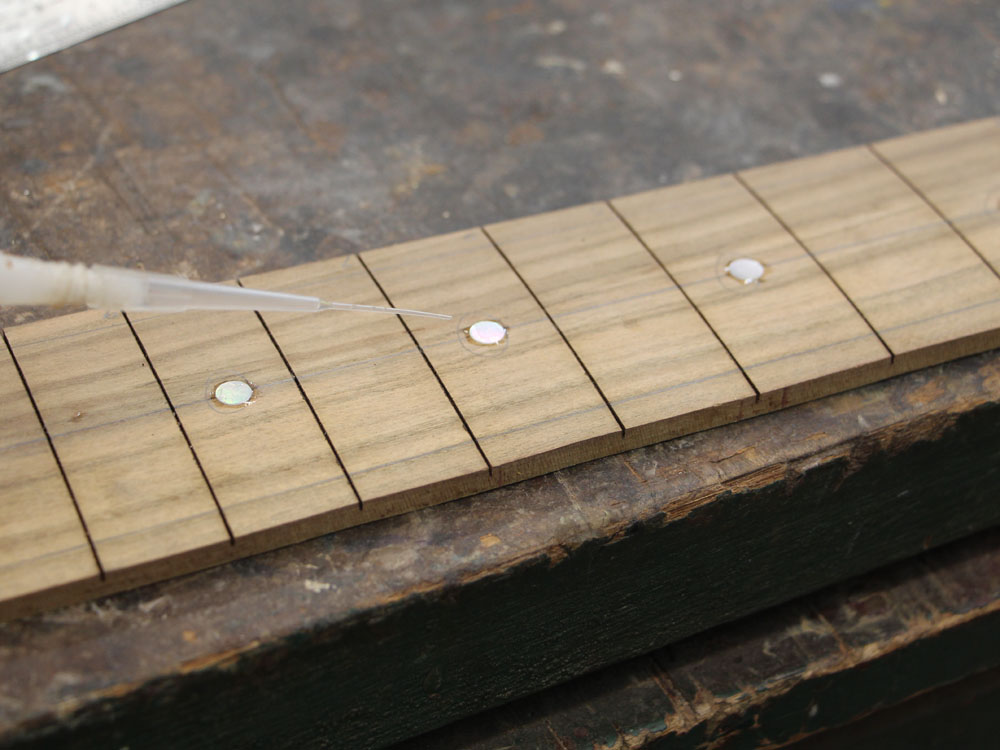
And use a Forstner bit to drill a 1/4 inch hole for each MOP dot.
 ( 289 ) 23-July-2013
A little CA glue holds the dots in place.
 ( 290 ) 23-July-2013
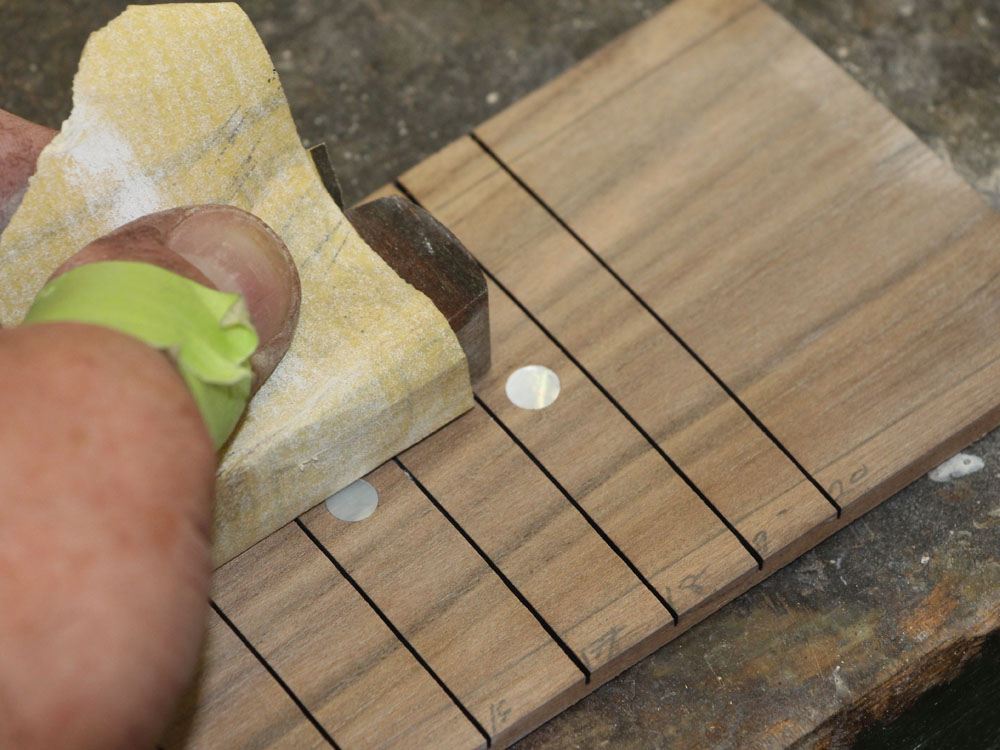
And then I sand them flush with the surface.
 ( 291 ) 23-July-2013
Next I carefully mark the width of the fretboard with masking tape.
 ( 292 ) 23-July-2013
I do this at the nut and 14the fret.
 ( 293 ) 23-July-2013
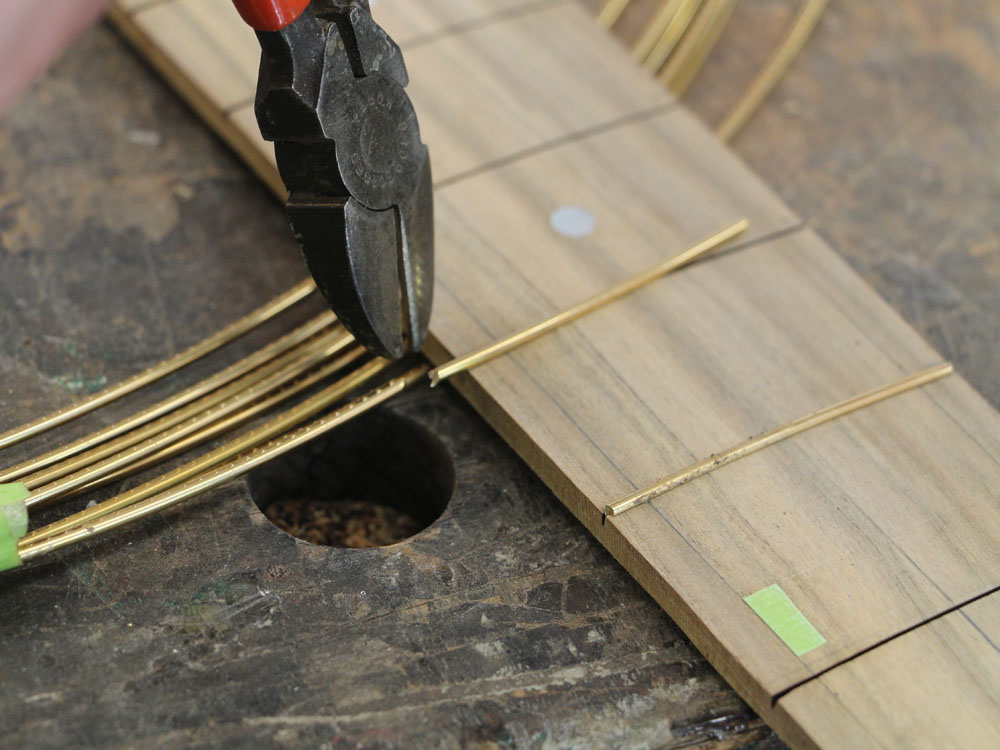
Before installing the fretwire, I like to check that the slots are deep enough. I use a piece of scrap fretwire with the barbs removed to do this.
 ( 294 ) 23-July-2013
Now I cut a piece of fretwire to length.
 ( 295 ) 23-July-2013
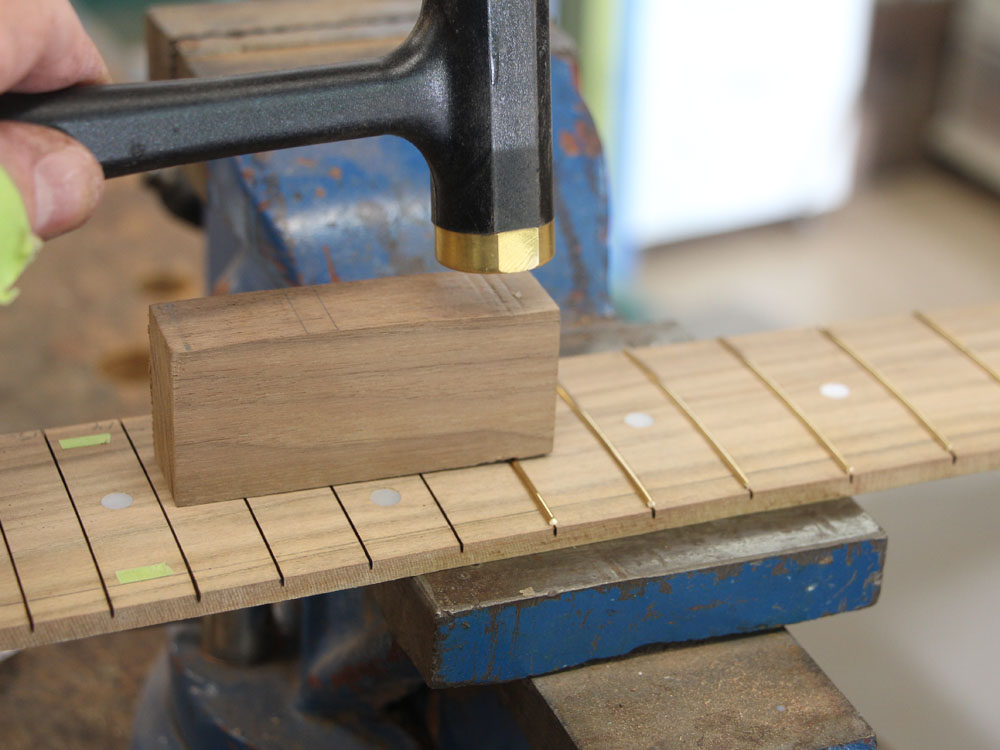
And hammer it in place.
 ( 296 ) 23-July-2013
I check carefully to make sure the fretwire is fully seated.
 ( 297 ) 23-July-2013
And a bit of CA glue wicks in the end to secure the fretwire in place.
 ( 298 ) 23-July-2013
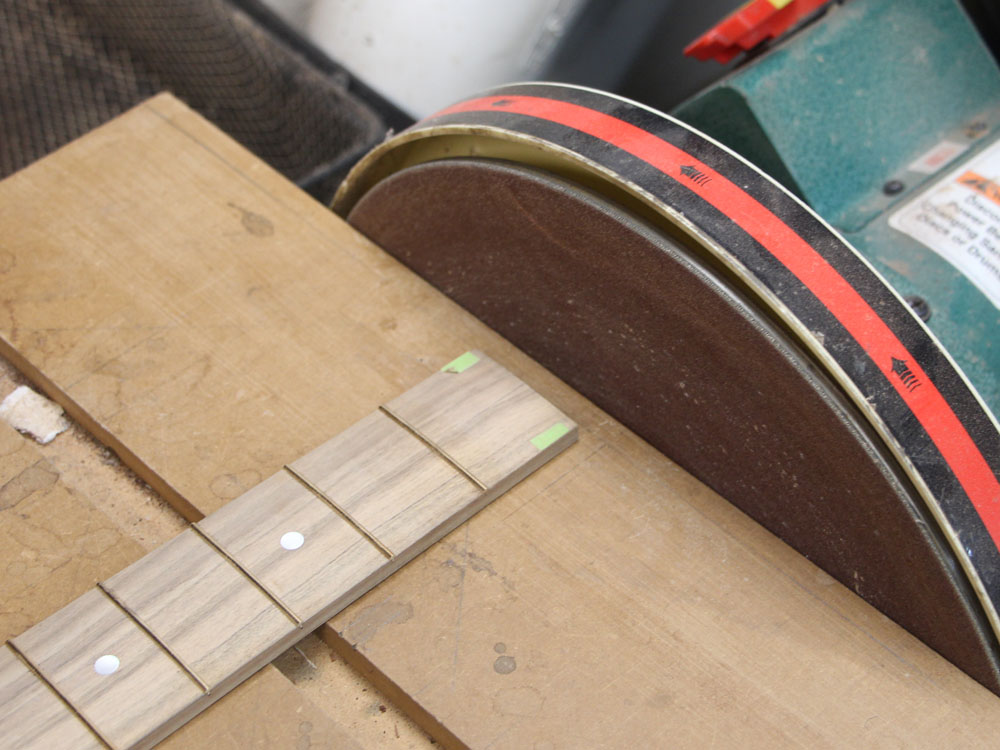
Now I carefully sand the fretboard to shape using the masking tape edges as a guide.
 ( 299 ) 23-July-2013
When there is no wood left between the edge and the tape I stop.
 ( 300 ) 23-July-2013
And then I cut off the end piece.
 ( 301 ) 23-July-2013
And sand it flush with the fret slot.
 ( 302 ) 23-July-2013
Here I am using my milling machine to create the channels in the neck blank for the cantilever support and the channel wings.
 ( 303 ) 23-July-2013
 ( 304 ) 23-July-2013
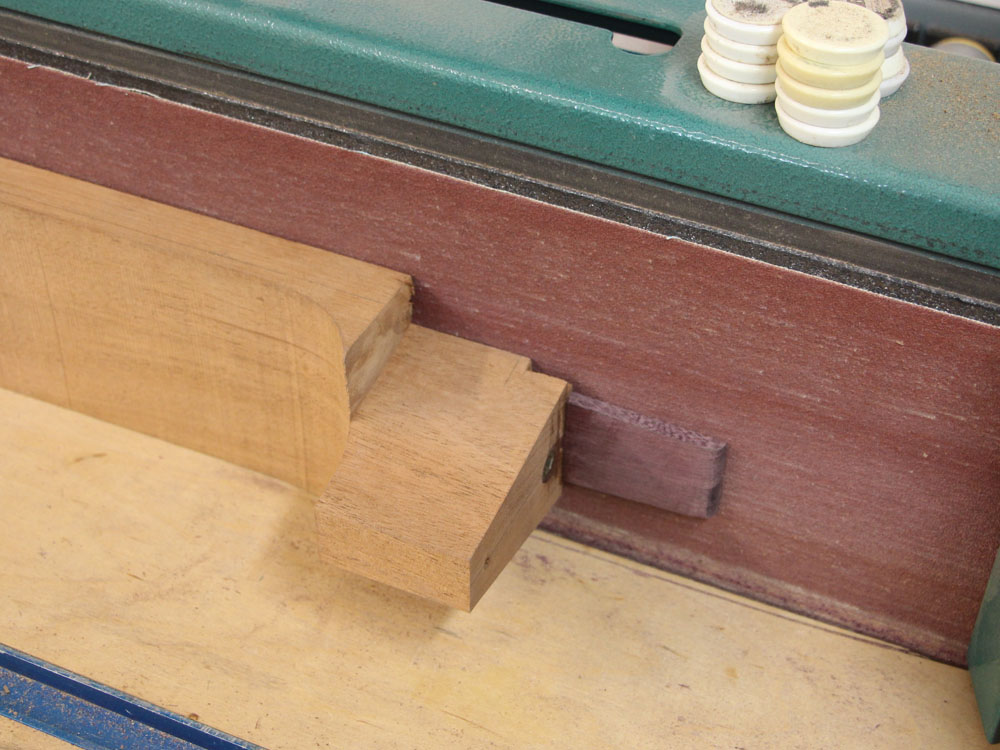
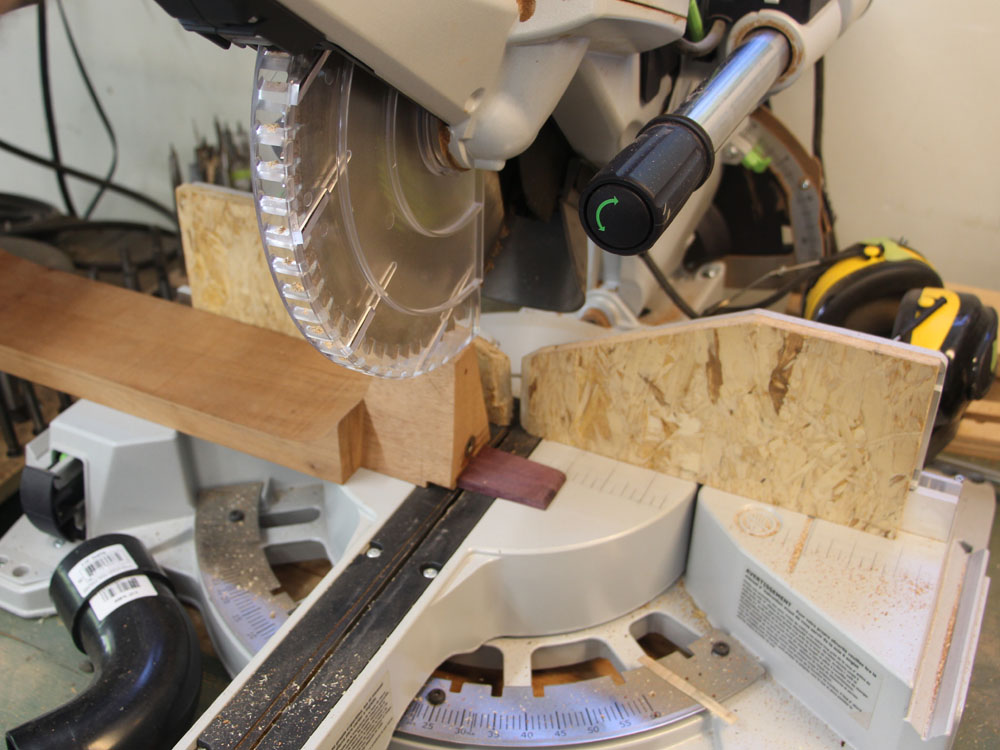
And the table saw is used to trim the end of the heel so it will fit into the body of the guitar.
 ( 305 ) 23-July-2013
And the neck fits perfectly.
 ( 306 ) 23-July-2013
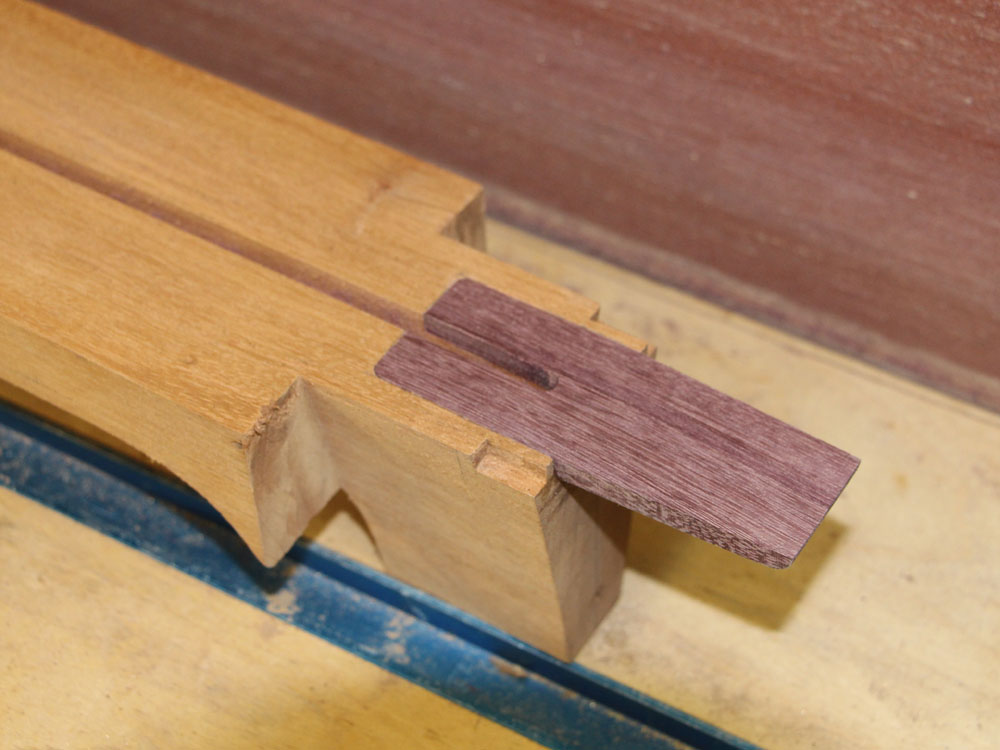
I use a piece of Purpleheart to make the cantilever support.
 ( 307 ) 23-July-2013
And after it is glued in place I sand it flush with the surface of the neck blank.
 ( 308 ) 23-July-2013
This will support the fretboard over the body of the guitar so the neck angle can be adjusted.
 ( 309 ) 23-July-2013
And a small detail is to put a 3 degree bevel into the end of the heel. This will allow the heel free movement in the heel channel as the neck is adjusted.
 ( 310 ) 23-July-2013
I use a special wedge with just the right angle to guide me as I trim the end of the headstock veneer.
 ( 311 ) 23-July-2013
And then I use the milling machine to create the slot for the truss rod adjustment.
 ( 312 ) 23-July-2013
I lay the fretboard out on the neck blank and use blocks to hold it in place.
 ( 313 ) 23-July-2013
I then make a couple of fiducial buttons so when I glue the fretboard on it won't slip around.
 ( 314 ) 23-July-2013
And a small block goes over the truss rod to provide some bite for the truss rod cover screw.
 ( 315 ) 23-July-2013
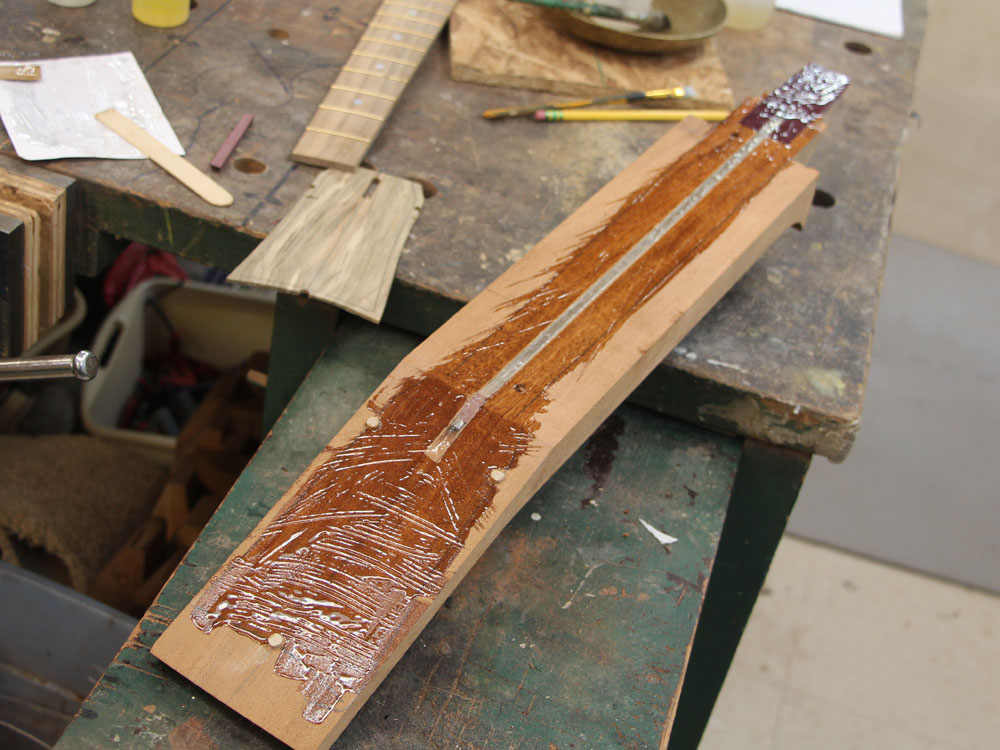
After marking out the profile I put down a layer of epoxy.
 ( 316 ) 23-July-2013
And glue the headstock veneer and fretboard in place.
 ( 317 ) 23-July-2013
After curing, the clamps come off and all I have to do is whittle away everything that isn't the guitar neck.